Raspberry Pi 用の microSD を新しい方法で作成する話です :)
注意点
この記事は下記の記事のアーカイブです ;)
https://iganari.hatenablog.com/entry/2021/05/20/060817
今記事の情報は執筆当時のものになります <(. . )>
概要
Raspberry Pi をセットアップするためには、事前に microSD にイメージを焼き込んでから、Raspberry Pi にセットする必要があります
今までは CUI でイメージの焼き込み作業をすることが多かったのですが、今回は公式( The Raspberry Pi Foundation )がリリースしている Raspberry Pi Imager を使って、microSD にイメージを焼く作業をしてみたいと思います :)
Raspberry Pi Imager について
公式がリリースしている Raspberry Pi OS をインストールするソフトウェアです
https://www.raspberrypi.org/software/
様々な OS 用のバージョンが用意されていて、かつ Raspberry Pi OS でも動きます
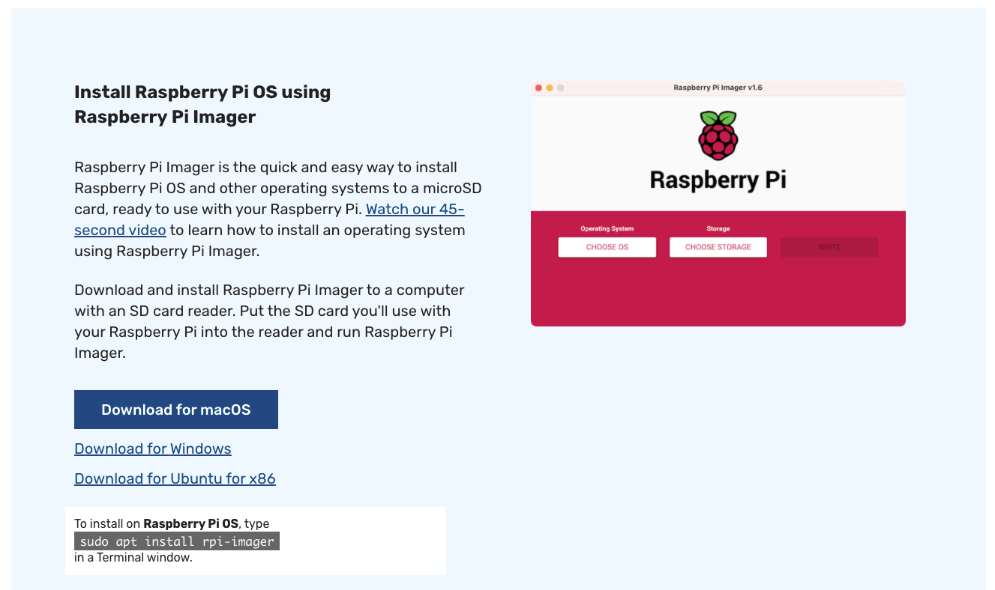
YouTube に使い方を説明している動画も上がっています
How to use Raspberry Pi Imager | Install Raspberry Pi OS to your Raspberry Pi (Raspbian)
今回は Raspberry Pi Desktop 上にて実行してみたいと思います :)
やってみる
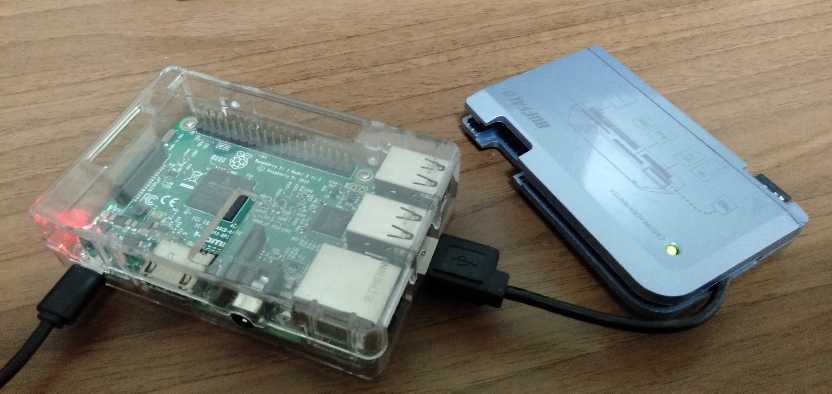
microSD をマウントしておく
既に使用出来る状態になっている Raspberry Pi Desktop に新規で焼き込みをしたい microSD を USB 経由でマウントします
Raspberry Pi Imager のインストール
Raspberry Pi OS 上に Raspberry Pi Imager をインストールします
- OS の確認
$ cat /etc/os-release
PRETTY_NAME="Raspbian GNU/Linux 10 (buster)"
NAME="Raspbian GNU/Linux"
VERSION_ID="10"
VERSION="10 (buster)"
VERSION_CODENAME=buster
ID=raspbian
ID_LIKE=debian
HOME_URL="http://www.raspbian.org/"
SUPPORT_URL="http://www.raspbian.org/RaspbianForums"
BUG_REPORT_URL="http://www.raspbian.org/RaspbianBugs"
- インストール
sudo apt update
suto apt install rpi-imager
インストールはこれだけです :)
Raspberry Pi Imager の起動と実行
デスクトップの [ホームボタン] -> [Accessories] -> [Imager] とありますので、これをクリックします
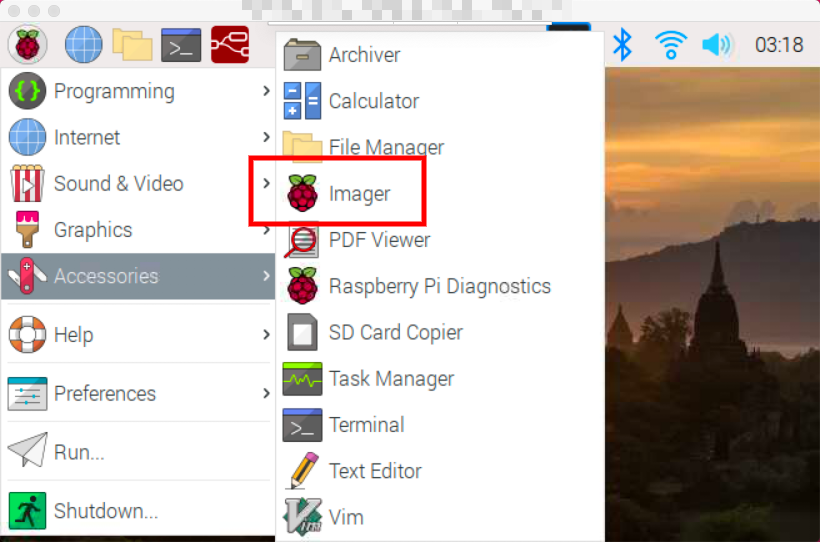
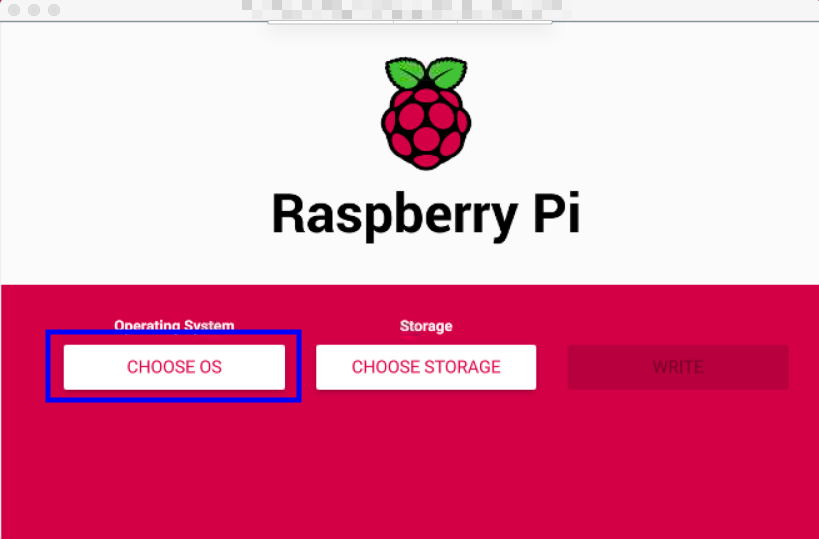
- クリックするとインストーラーが表示されます
- Raspberry Pi 上でやると全画面になってしまった
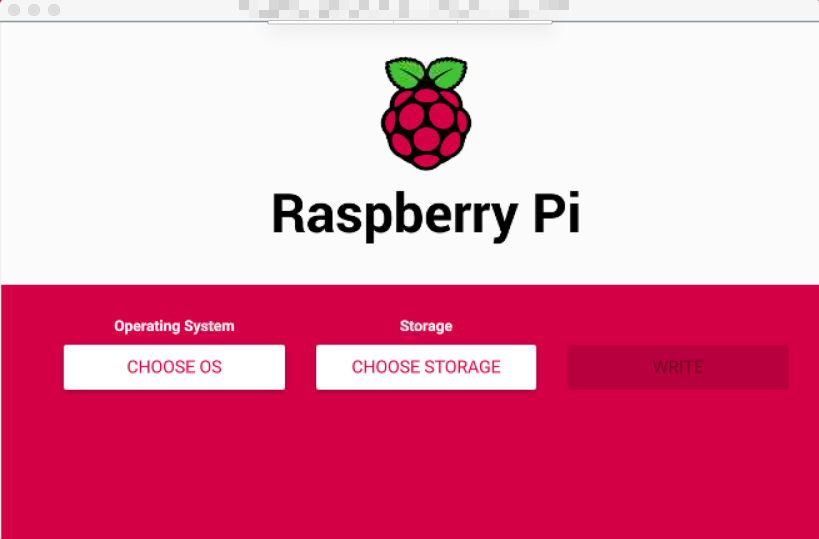
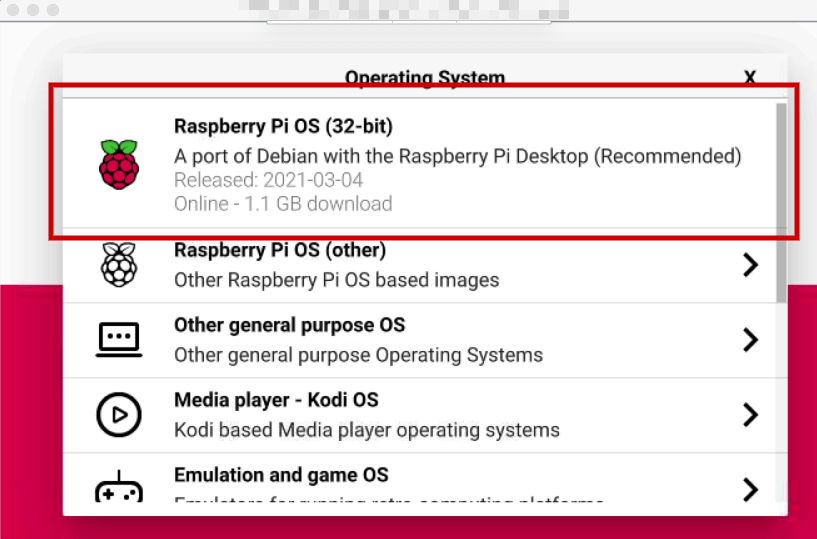
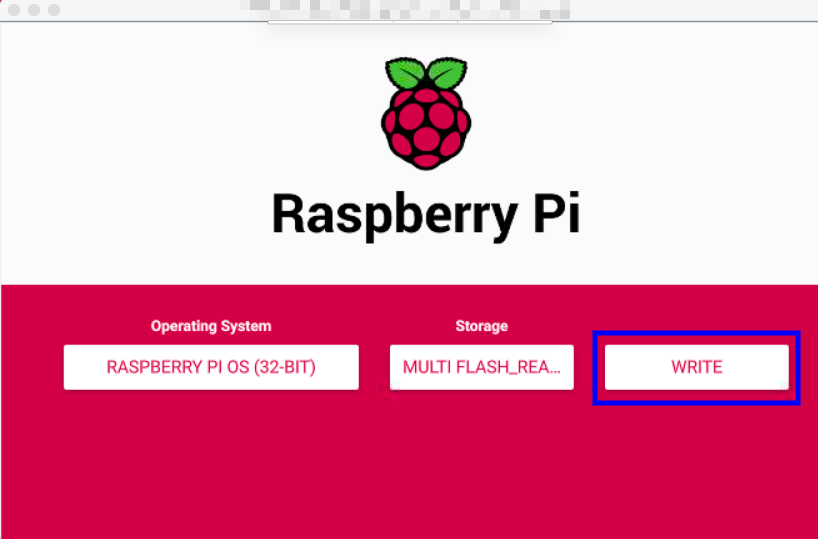
CHOOSE OSをクリックしてインストールしたい OS を選択します
- 今回は
Raspberry Pi OS (32-bit)の Desktop 版を選択します
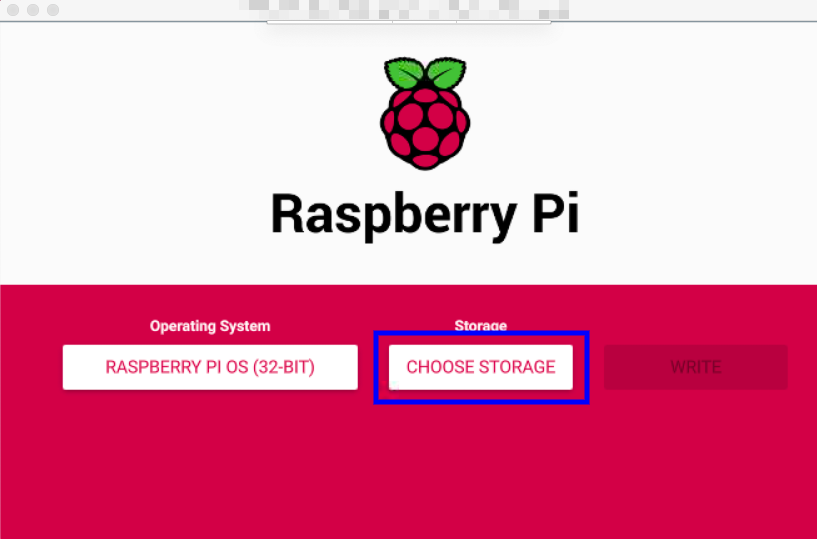
- 次に
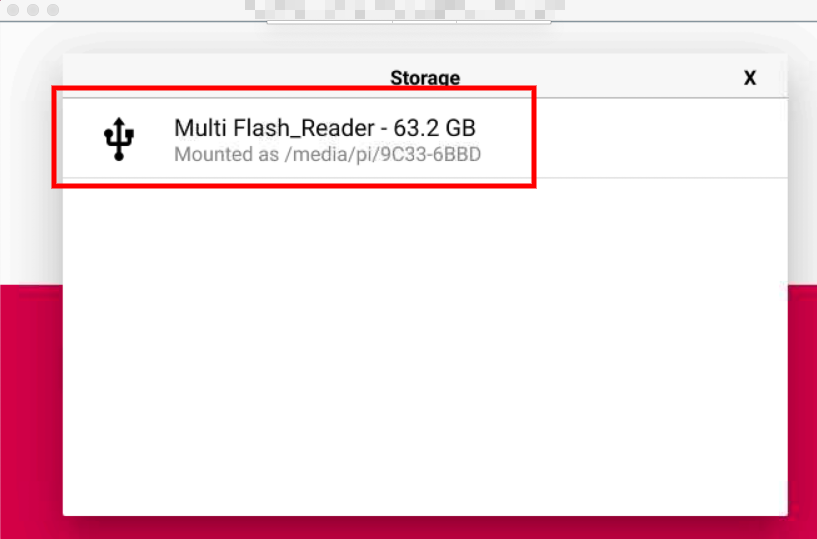
CHOOSE STORAGEを選択して書き込み先を選択します
- 今回は microSD を USB接続しているのでこれを選択します
- 最後に
WRITEをクリックします
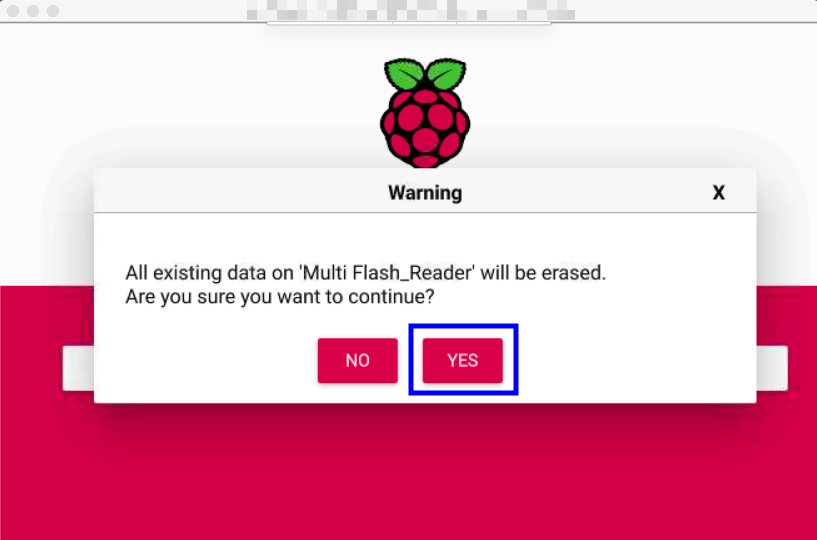
- OS の書き込みをすると、( microSD の )既存のデータが消えてしまうことの注意喚起が出ます
YESを押して、続けましょう
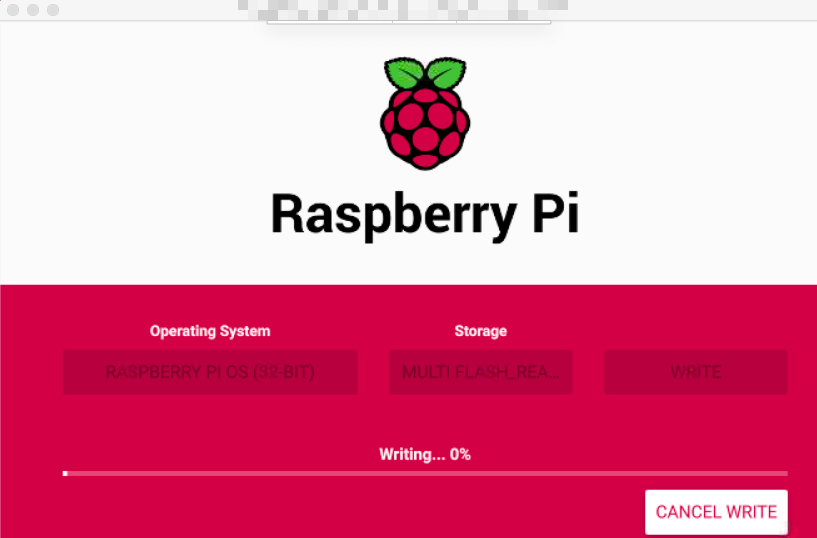
- インストールが始まります
- 書き込みが完了したら USB を抜きましょう
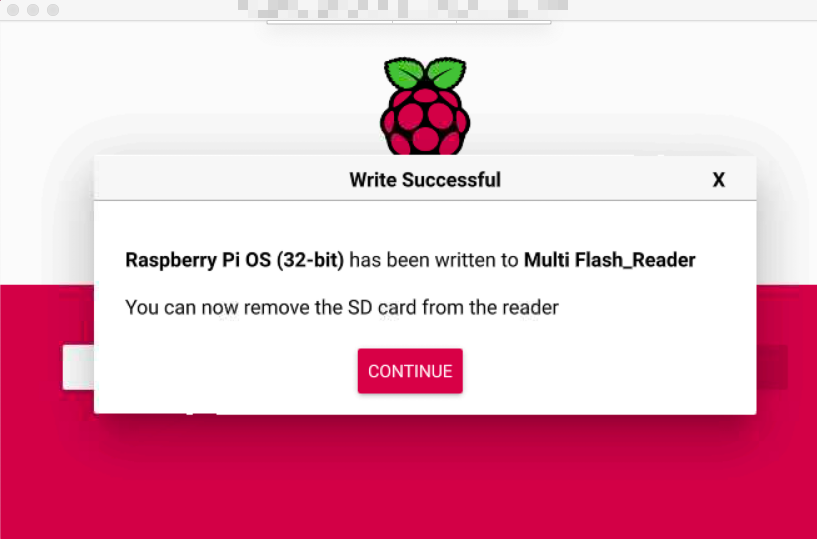
あとは書き込んだ microSD を他の Raspberry Pi にいれ、電源を入れればいつもの Raspberry Pi が起動します
簡単ですね :)
まとめ
Raspberry Pi Imager を使って Raspberry Pi OS をインストールする一連の流れを見てみました
( Raspberry Pi Desktop の上からでも )思った以上に簡単に使えたのでこれからはこちらを使って行きたいと思います :)
Have fan !! :)